The step-by-step process for a liquid waterproofing roof repair, involves the following stages:
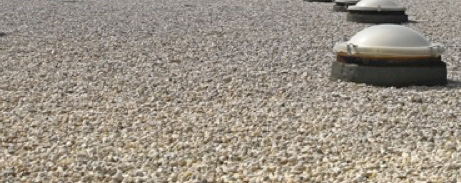
Assessing Roof Damage
Begin by identifying visible and hidden issues, such as cracks, blisters, or peeling coating. Pay special attention to areas where water collects, like drains or depressions, and inspect edges and seams for leaks.
Preparing the Repair Area
Thoroughly clean the area to remove dust, debris, and loose coating. Address oil or grease stains with hot water or solvents to ensure proper adhesion, and protect surrounding sections of the roof with masking tape or protective film.
Selecting the Right Materials
Choose a liquid waterproofing system with a high solar reflectance index (SRI) to improve energy efficiency. Ensure the material is suitable for your local climate (e.g., acrylic emulsions or polyurethane dispersions for moderate to warm temperatures) and the specific project scale.
Applying the Repair Solution
After ensuring the surface is dry, mix the solution well and apply it evenly using a roller or brush. Extend the application slightly over the edges of the damaged area to create a continuous barrier. If required, apply multiple layers, allowing each to dry slightly before the next.
Ensuring Proper Curing
Allow the repair to cure for 24 to 48 hours, depending on weather conditions and product specifications. It is vital to keep the area within the manufacturer’s recommended temperature range and protected from rain or high humidity during this time.
Performing Regular Maintenance
Conduct routine inspections every 6 to 12 months. Focus on sealing seams, cleaning debris, and maintaining detailed records of all repairs to prolong the roof's lifespan